Showing posts with label summer. Show all posts

CHERRY CRUMBLE

>> Wednesday, August 3, 2011


Cherry crumble. It sounds pretty and wholesome. Like something they make in the southern states of America in the kitchens of big white houses with verandas and winding, tree-lined driveways. Though actually they make cobblers or crisps in America don’t they? Are crumbles more English? I’m not sure. Anyway, let’s not ruin the image in my head with practicalities!


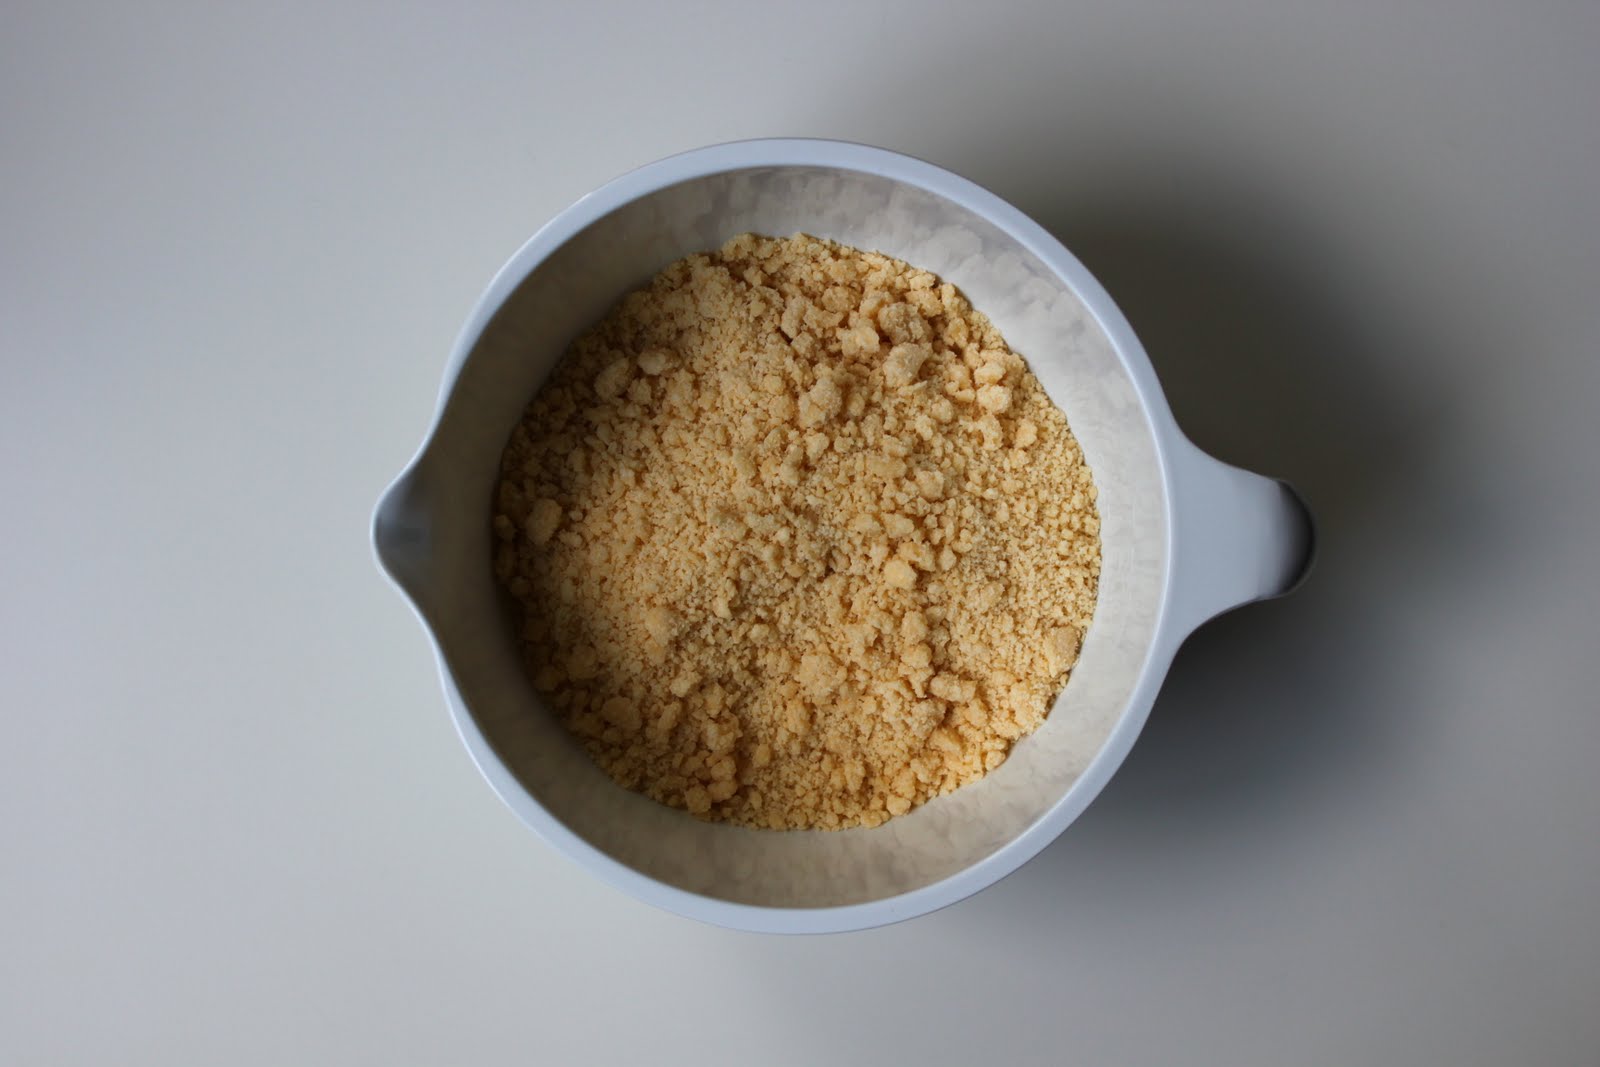
I have a confession to make. I made this twice. The first time, the day after Fruitcamp; I photographed it, we ate it and found that it didn’t have enough syrup and the cherries were lost within the mountain of topping. Take two; I adjusted the cherry/crumble ratio, added extra water to the cherries and was rewarded with a more satisfyingly juicy dessert. It’s important to remember with crumbles that the topping absorbs at least a 1/3 of the liquid present in the fruit mixture. If the fruit you’re working with doesn’t give off a lot of juice, you’ll have to add a little extra to compensate.


Cherries are a little difficult to cook or bake with. They just don’t really hold their ground when exposed to heat. Basically they lose their magic, their essential cherry-ness. The best way to serve them is the simplest: in a white bowl, freshly rinsed and shiny.


If you’re lucky enough to have an abundance of cherries and eating them fresh is losing it’s appeal, then using them in baking or jam is a good option. This crumble is very light and the cherries remain juicy and plump. A scoop of plain vanilla ice cream or some cream poured on top finishes it off nicely.


Having never cooked fresh cherries this way, what I found really interesting was how the cooked cherries developed a flavour which was distinctly like that of imitation cherry. If you've ever wondered where they derived cherry flavouring from, then this must be it: cooked cherry. Distinctly almondy, almost overly sweet.


The next time we’ve got a bowl of fresh cherries on our kitchen bench I don't think they'll be making it into the oven. They’re just too good to mess with. But come winter when we want a brief reminder of the summer just been, I might pull out some jarred cherries and give this recipe another whirl.

CHERRY CRUMBLE
(adapted from the Times website, from a recipe for Apple and Pear Crumble by Jill Dupleix)

450g fresh cherries
25g caster sugar
2/3 cup water

FOR THE CRUMBLE

50g butter, chilled
75g plain flour, sifted
35g unrefined demerara sugar (I used golden caster sugar because I read the recipe incorrectly... but demerara or raw sugar creates a much crunchier and more interesting topping. If doubling: add 75g.)
35g ground almonds (If doubling the recipe: add 75g)
pinch of salt

Heat oven to 180C/Gas mark 4. To make the crumble, cut the butter into tiny cubes and rub lightly into the sifted flour with your fingertips. Alternatively, briefly whizz the sifted flour and butter in the blender or food processor until crumbly (although the manual method will give you a crumblier crumble). Stir in the sugar and almonds.

Wash, halve and destone the cherries. Lightly toss with caster sugar and pile into a lightly buttered small ovenproof dish, levelling out the top. Spoon over the water.

Spread the crumble topping evenly and generously over the fruit, and bake for 50 to 60 minutes until the fruit is bubbling hot and the topping is golden.

Serve warm with cream, ice-cream or custard.
Serves 3-4.

If you have more fruit or are cooking for a few more people, just double the recipe. (See notes in the ingredients list above.)

Read more...

FRUITCAMP

>> Tuesday, July 19, 2011


Two weeks ago I went to Fruitcamp.
There wasn’t really any camping involved, but there sure was a lot of fruit.

I heard about this day-out from a workmate who forwarded an email around the office – I was the only one out of the sixty-odd of us to attend, but all I can say is, everyone else missed out. Big time. When I saw the email I couldn’t resist. I was pretty much sold when I saw it featured fresh cherries. Everything else (baking with fresh fruit, jam-making, a relaxed outdoor country lunch, an orchard tour, fresh apple juicing…. sounds amazing doesn’t it?) was really just a bonus.


I convinced my friend Sarah to come along (convinced is probably the wrong word, she loves food as much as me and this was exactly her cup of tea) and off we went, wellies (or gumboots if you’re from the antipodes) in tow.

We were treated to an indulgent, relaxed day filled with fresh fruit, good food and the great outdoors. It was the perfect day for Londoners wanting to escape the city, slow down a little and take a breath of fresh air.


We started the day with a tour of the Manor House Farm plum, apple and cherry orchards. The cherries were beyond belief. They literally dripped off the trees in big shiny bunches. As we walked through the orchard we were instructed to pick as many as we could for our cooking classes later on that morning, but, let’s be honest, I’m pretty sure more cherries were eaten than what ended up in the fruit bag.


Once back at the farm, we were divided into two groups to bake, make jam and learn about alcoholic fruit infusions and apple pressing.

For someone who had always shied away from making any kind of preserve (I think the sterilising of jars and the fear of ruining an entire supply of fruit in one go, somehow always deterred me) the jam-making was definitely the highlight of the culinary part of the day.

I learnt that: it really is that easy, anyone can do it, and all you need is a lot of good quality fruit, some pectin and a good candy thermometer. Simple.


The baking, on the other hand, while lovely and very enjoyable to watch, was a little on the basic side for Sarah and I who both already love and know how to cook. In saying that, there were others in the group who obviously learnt a great deal, so it just depended on your particular level of skill. If we had been able to get our hands dirty and make our own cherry tart, clafoutis or cherry yoghurt cake, we would have been even happier campers. (However, obviously we were cooking outdoors without the facilities of a commercial kitchen close at hand, so I’m not sure how realistic this would be!)


Lunch was a veritable feast served in the sun as a picnic on the farm’s grass tennis court.

We had: baked mackerel skewers with a fresh sweet cucumber and red onion pickle, pulled pork with a chilli gravy, home-made coleslaw, green salad and cherry frangipane tart and lemon mascarpone all served with sparkling wine from a local Kentish winery. Unfortunately I didn’t get any photos of the food – it was really delicious, but I think I was too busy eating to remember to pull my camera out!

And the cherry on the top? We were each given a bottle of home-made apple juice, a jar of the jam we had made on the day and a bag of full of cherries! Now if that isn’t value for money I don’t know what is.

It sounds like School of Food will be setting up another couple of Fruitcamps later on in the season, and depending on the level of interest, perhaps even a boutique Kentish beer tour. If any of you in England and within easy reach of the South-East, are interested, just visit their website and sign up to their newsletter for future updates.

School of Food: Kent, England

Fruitcamp


(Did you think I’d cleverly glossed over the fact that it was three months since my last post where I said I was going to be back soon? And, cheekily, with a post that didn’t even include a recipe? Well, to make up for it, I have a lovely recipe made with the cherries I brought home from Fruitcamp lined up and on it’s way by the end of the week. Fingers crossed....)

Read more...

SUMMER TOMATO SALAD

>> Friday, August 20, 2010


I recently purchased Yotam Ottolenghi’s new cookbook, Plenty. When it was released it created quite a flurry of excitement in the food world – and for good reason. While most vegetarian cookbooks make cooking sans viande seem like a chore or, at best, repetitive, Plenty celebrates the diversity of vegetables, grains, pulses, pasta and nuts and clearly demonstrates that with a little care and creativity, vegetarian food can be vibrant and varied. Based on his weekly column in the Saturday magazine supplement of the Guardian, it’s a compilation of colourful and inspirational vegetarian recipes which literally leap from the page. It’s a beautiful book; the cover is bright white and slightly cushioned, the pages thick and shiny.


It’s also overflowing with tempting recipes – almost too many to choose from. But since it was the middle of July and I was looking for a dish to compliment the warm weather, thankfully my choices were narrowed somewhat. Some new summer inspiration is what I needed. And I found this:

Tomato Party.

Now who wouldn’t want to make that?

Apparently me, because I changed the name of this post from ‘Tomato Party’ to ‘Summer Tomato Salad’. But while the name is slightly reminiscent of something you’d invent to try to encourage your three year old to eat vegetables and conjures images of tiny cartoon tomatoes with big smiling faces decked out in party hats and paper whistles throwing confetti into the air (you’re imagining them aren’t you?), it looks amazing and tastes even better.

It’s summer on a plate.


Don't bother making it in the dead of winter with watery, insipid tomatoes flown in from Kenya. This is a celebration of summer and to do it justice you need tomatoes that have grown ripe on the vine and picked when they’re at their best. Tomatoes that have never seen the inside of a commercial refrigerator. Or a plane.

So a trip to Borough Markets was on the cards. The ordinary tomatoes from the supermarket just weren’t going to cut it. It can be relatively expensive, but oh it’s fun. And the food.... Let’s just say that if I could live in Borough Markets I would. Chris and I wandered down on a perfect, sunny Saturday morning with a market basket my mum brought me from France. We came home happy and warm from the sun, the basket overflowing with fresh eggs, chilli hot sauce from Chris’ favourite Mexican stall, a packet of fudge, a tub of the green Sicilian olives we love and, of course, a rainbow assortment of tomatoes.


What I liked the most about this salad was the contrast of the different ingredients; the plump and juicy-sweet caramelised tomatoes alongside the firm crunch of the green tomato slivers, the soft grain of the couscous next to the fresh and lively herbs.


The original recipe called for fregola or Israeli couscous but I couldn't find these very easily, so I made do by doubling the couscous and adding a can of drained chickpeas. To be honest, I think this combination compliments the rest of the ingredients far more than the sometimes gluey consistency of fregola or Israeli couscous would have. The chickpeas provide a slight velvetiness and the extra couscous helps to fill out the salad if you’d like it to stand on it’s own rather than act as a side dish. My recommendation: stick to the chickpeas and forget the fregola unless you have some loitering in your cupboard.


We ate this by itself as a light supper while watching a bit of Rick Stein waltzing and eating his way through France. It was light and delicious and made us feel just a little virtuous. If you want something a bit more robust (or you’re feeding your father who only classifies something as a meal if it includes some kind of meat), finish it off with a few pieces of char-grilled steak or spiced lamb with the juices spooned over the top.

So; the verdict?

A salad for a hot summer's day, a barbeque, a picnic. Or even a party....


SUMMER TOMATO SALAD (aka TOMATO PARTY)
(adapted from Plenty by Yotam Ottolenghi)

250g couscous
salt and pepper
olive oil
300ml boiling water
1 410g can of chickpeas, drained
5-6 medium vine tomatoes, quartered
1 teaspoon brown sugar
1 tablespoon balsamic vinegar
a punnet of yellow cherry tomatoes
2 tablespoons coarsely chopped oregano leaves
2 tablespoons coarsely chopped tarragon leaves
3 tablespoons coarsely chopped mint leaves
1 garlic clove, crushed
1 small to medium green tomato, sliced very thinly in wedges
1 medium orange tomato (or yellow/red/purple), sliced thinly in wedges
a punnet of tomberries (or halved cherry tomatoes)

Preheat the oven to 170C/325F/gas mark 3. Put the couscous in a bowl with a pinch of salt and a drizzle of oil. Pour over the boiling water, stir and cover the bowl with cling film. Set aside for 12 minutes, then remove the cling film, separate the grains with a fork and leave to cool. (If using fregola: add 150g to salted boiling water, simmer for 18 minutes or until tender, drain in a colander and rinse under cold running water. Leave to dry completely.)

Meanwhile, spread the vine tomatoes over half a large baking tray and sprinkle with the sugar and some salt and pepper. Drizzle the balsamic vinegar and some oil over the top. Place in the oven. After about 20 minutes remove from the oven and increase the temperature to 200C/400F/gas mark 6. On the empty side of the baking tray, spread the yellow tomatoes. Season them with salt and pepper and drizzle over a little oil. Return to the oven and roast for 12 minutes. Remove the tomatoes and allow to cool down.

Mix together the couscous and chickpeas (or fregola) in a large bowl. Add the herbs, garlic, the baked tomatoes with all their juices, the green tomato, the orange tomato and tomberries or cherry tomatoes. Very gently mix together using your hands. Taste for seasoning: you might need to add salt, pepper and some extra olive oil.

Garnish with a few whole tarragon, oregano or mint leaves.

Read more...

COURGETTE + AGED CHEDDAR SLICE

>> Thursday, March 25, 2010

Chris and I try to eat vegetarian meals for at least half the week. We're not vegetarians - not even close. We love meat far too much to ever even contemplate abstaining in the long term. Crispy, golden bacon and juicy, rare steaks we could not live without. But there's also something tempting and refreshing about an entire meal revolving around vegetables and herbs. We use eggs and dairy products frequently and try to discover new recipes and different ways of approaching individual ingredients.


For one of my vegetarian cooking nights this week I found this recipe for Courgette and Aged Cheddar Slice. It's from one of my favourite New Zealand cooks, Julie le Clerc. I have a few of her books, but Viva Food is one of the ones I probably cook from the least. In an effort to validate it's presence on my book shelf, I took it down, flicked through the pages looking for some inspiration and found this recipe.

First off, aside from having to grate and drain the courgettes, this slice is straightforward and quick to assemble. If you're looking for something to cook on a rushed weeknight, this is exactly what you need. While it requires almost an hour in the oven, the preparation is speedy and once you’ve mixed the batter together, all you need to do is relax until it’s done.


I'd recommend using a fairly strong cheddar - a sharp cheese which will cut through the creaminess of the egg. You could even double the cheese if you're feeling daring - I think it could handle a little more. After the requisite 40 minutes in the oven, make sure you double check the filling is done before switching off your oven. I found that it took at least another ten minutes before the centre was entirely set.


I think I'll cook this again in summer; maybe we’ll take it up to the heath for a sunday picnic when it will taste even better because the courgettes and tomatoes will be in season. Eating warm slices in the sun and reading. Perfect.


Courgette + Aged Cheddar Slice
(slightly adapted from Viva Food by Julie Le Clerc)

2 tablespoons olive oil
1 medium onion, finely sliced
500g (4 medium) courgettes, grated
1 tablespoon chopped fresh oregano (I used a small bunch, picking off the leaves, leaving some whole and chopping the rest)
1 cup grated aged cheddar
1 cup self-raising flour
4 free-range or organic eggs
1 cup milk
sea salt and freshly ground black pepper
3 medium tomatoes, thinly sliced

1. Preheat the oven to 200ºC. Line a 17x27cm slice tin with non-stick baking paper, allowing overhang on all sides. You could alternatively grease the tin generously with butter, though you will get better results and the slice will be easier to remove from the tin if you line it with paper.

2. Heat oil in a frying pan and cook the onion for 5 minutes until softened but not coloured. Remove to cool. Squeeze any excess liquid from the grated courgettes and add to the cooled onion with the oregano, cheese and flour.

3. In another bowl, lightly beat the eggs with the milk and season with salt and pepper. Stir wet ingredients into dry ingredients and mix to just combine. Pour into prepared tin. Arrange tomato slices on top.

4. Bake for 40 minutes or until firm in the centre. Cool in the tin for 10 minutes to firm before turning out to slice. Lasts up to 3 days if stored in the fridge.

Read more...

SEARCH NATKIN

Copyright: All images and text appearing on this blog (nat-kin.blogspot.com) may not be reproduced, copied or manipulated without the written permission of Natalie Graham © 2010

  © Blogger template 2009

Back to TOP