Showing posts with label cinnamon. Show all posts

CHERRY CRUMBLE

>> Wednesday, August 3, 2011


Cherry crumble. It sounds pretty and wholesome. Like something they make in the southern states of America in the kitchens of big white houses with verandas and winding, tree-lined driveways. Though actually they make cobblers or crisps in America don’t they? Are crumbles more English? I’m not sure. Anyway, let’s not ruin the image in my head with practicalities!


I have a confession to make. I made this twice. The first time, the day after Fruitcamp; I photographed it, we ate it and found that it didn’t have enough syrup and the cherries were lost within the mountain of topping. Take two; I adjusted the cherry/crumble ratio, added extra water to the cherries and was rewarded with a more satisfyingly juicy dessert. It’s important to remember with crumbles that the topping absorbs at least a 1/3 of the liquid present in the fruit mixture. If the fruit you’re working with doesn’t give off a lot of juice, you’ll have to add a little extra to compensate.


Cherries are a little difficult to cook or bake with. They just don’t really hold their ground when exposed to heat. Basically they lose their magic, their essential cherry-ness. The best way to serve them is the simplest: in a white bowl, freshly rinsed and shiny.


If you’re lucky enough to have an abundance of cherries and eating them fresh is losing it’s appeal, then using them in baking or jam is a good option. This crumble is very light and the cherries remain juicy and plump. A scoop of plain vanilla ice cream or some cream poured on top finishes it off nicely.


Having never cooked fresh cherries this way, what I found really interesting was how the cooked cherries developed a flavour which was distinctly like that of imitation cherry. If you've ever wondered where they derived cherry flavouring from, then this must be it: cooked cherry. Distinctly almondy, almost overly sweet.


The next time we’ve got a bowl of fresh cherries on our kitchen bench I don't think they'll be making it into the oven. They’re just too good to mess with. But come winter when we want a brief reminder of the summer just been, I might pull out some jarred cherries and give this recipe another whirl.

CHERRY CRUMBLE
(adapted from the Times website, from a recipe for Apple and Pear Crumble by Jill Dupleix)

450g fresh cherries
25g caster sugar
2/3 cup water

FOR THE CRUMBLE

50g butter, chilled
75g plain flour, sifted
35g unrefined demerara sugar (I used golden caster sugar because I read the recipe incorrectly... but demerara or raw sugar creates a much crunchier and more interesting topping. If doubling: add 75g.)
35g ground almonds (If doubling the recipe: add 75g)
pinch of salt

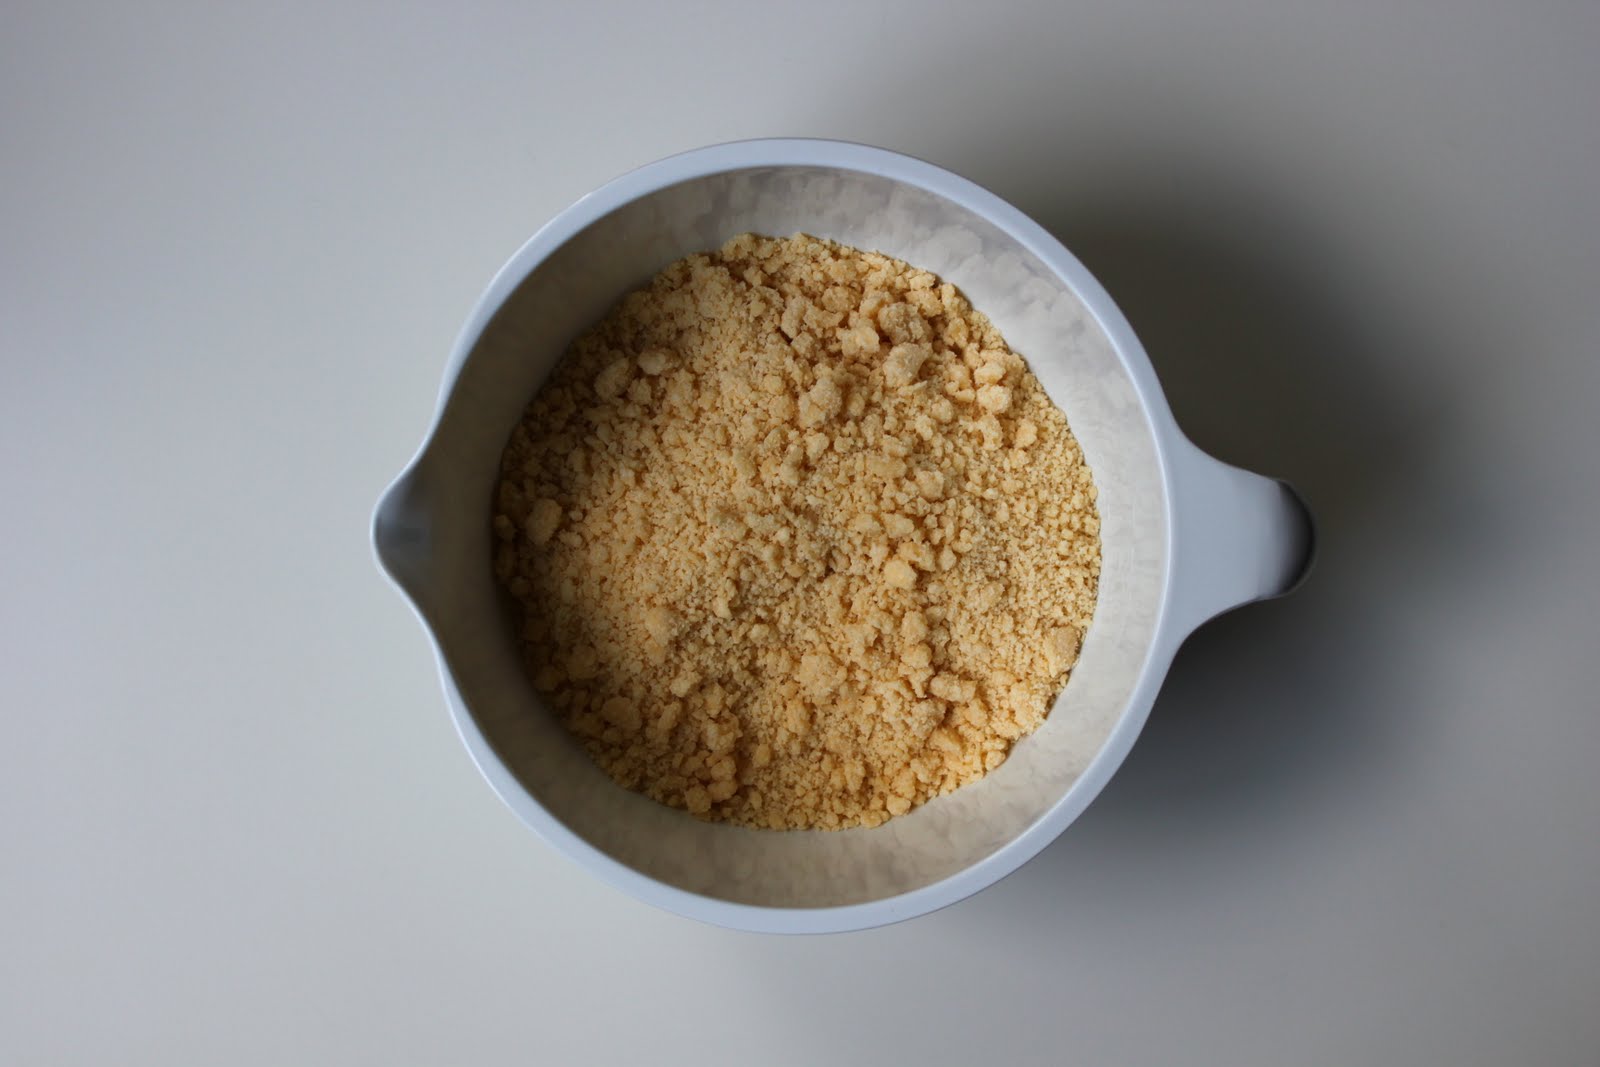
Heat oven to 180C/Gas mark 4. To make the crumble, cut the butter into tiny cubes and rub lightly into the sifted flour with your fingertips. Alternatively, briefly whizz the sifted flour and butter in the blender or food processor until crumbly (although the manual method will give you a crumblier crumble). Stir in the sugar and almonds.

Wash, halve and destone the cherries. Lightly toss with caster sugar and pile into a lightly buttered small ovenproof dish, levelling out the top. Spoon over the water.

Spread the crumble topping evenly and generously over the fruit, and bake for 50 to 60 minutes until the fruit is bubbling hot and the topping is golden.

Serve warm with cream, ice-cream or custard.
Serves 3-4.

If you have more fruit or are cooking for a few more people, just double the recipe. (See notes in the ingredients list above.)

Read more...

BANANA BREAD

>> Saturday, August 28, 2010


I always seem to have the same problem. I buy a bunch of bananas and the final two turn black, sickly sweet and soft before I have a chance to take them to work and have them for morning tea with some yoghurt and honey. I usually throw them in one of our freezer drawers until Chris and I start to crave my mum’s wonderful Banana Crunch Cake.

A few weeks ago I already had three frozen bananas hiding in the freezer and two more ripening at lightning speed in our fruit bowl. Something had to be done. I felt too guilty to add them to the pile that was growing slowly but surely in the deep freeze. So I took a banana from the freezer and the two from the bench and got baking. (See my baking tip on freezing bananas here.)


For some reason banana bread popped into my head; the chewy kind you can spread butter on. I kind of like the 1970’s associations that come with banana bread – healthier and a bit more down to earth than cake. It should be baked in a brown kitchen with brown and cream linoleum on the floor and orange-flowered crockery on the shelves. While wearing flares.


Am I right in thinking that banana bread is meant to be a bit more glutinous and, well, more like bread than cake? That’s the kind of texture I was looking for but, sadly, this banana bread was more like banana cake or banana loaf. Don’t get me wrong; it was totally delicious! We ate the whole thing within a couple of days; Chris even eating his share for breakfast. Though that’s not necessarily the measure of a good cake – he always does that.


Actually, when I think about it, this bread was very similar to the Banana Crunch Cake my mum makes but without the crunch. It has a touch of cinnamon added to the batter which achieves the same sort of overall flavour; just a little more plain and restrained. The cake (I should say ‘bread’ really shouldn’t I?).... the bread itself is light and soft; a nice basic banana cake (no! bread!) with a hint of spice that adds a pleasant depth of flavour. A slice of this would be perfect with a cup of tea when you want something simple but a little more satisfying than a plain biscuit. I wouldn’t toast it though, the crumb is too loose and it would fall apart in your toaster. And that’s it right there isn’t it? The reason why it isn’t ‘bread’. You can’t toast it.

I’ve given up. I now officially rename this recipe, ‘Banana Loaf’. (I seem to be doing that a lot lately don’t I? Renaming recipes....)

And so my quest for a chewy, dense banana bread continues.... When I find it, I’ll let you know.


Note:

After re-reading the recipe and looking at the picture on the website, I think I know why my banana bread turned out so light and delicate and more like cake:

I have a feeling I mashed the banana too intensely. I think making a chunky mixture with a few whole pieces of banana still intact rather than a smooth paste would moisten the bread and help it to develop a more glutinous texture. I think next time I'd add an extra banana as well which would help.

The recipe says not to over mix the batter. While this is really important when trying to make a cake as light and airy as possible, a banana bread can do with a little more mixing. I basically only mixed until combined which turns out wasn't quite enough, so I'd recommend mixing for another minute or so after the ingredients have come together. Don't overdo it though, otherwise your bread will become tough.

I didn't have any walnuts in my pantry so had to miss them out. Next time I'll make the effort to find some because I think they would have helped to retain a little more moisture in the cooked loaf and produced a slightly chewier texture.


BANANA LOAF
(or Banana Bread, adapted from the Joy of Baking website)

1 3/4 cups (230 grams) all-purpose flour
3/4 cup (150 grams) granulated white sugar (I used caster)
1 teaspoons baking powder
1/4 teaspoon baking soda
1/4 teaspoon salt
1 teaspoon ground cinnamon
2 large eggs, lightly beaten
1/2 cup (113 grams) unsalted butter, melted and cooled
3 ripe large bananas, mashed well (about 1-1/2 cups)
1 teaspoon pure vanilla extract

Preheat oven to 350 degrees F (180 degrees C) and place oven rack to middle position. Butter and flour or line with baking paper the bottom and sides of a 9 x 5 x 3 inch (23 x 13 x 8 cm) loaf pan.

In a large bowl combine the flour, sugar, baking powder, baking soda, salt and cinnamon.

In a medium-sized bowl combine the mashed bananas, eggs, melted butter, and vanilla. With a rubber spatula or wooden spoon, lightly fold the wet ingredients (banana mixture) into the dry ingredients just until combined and the batter is thick and chunky. (The important thing is not to over mix the batter. You do not want it smooth. Over mixing the batter will yield tough, rubbery bread.) Scrape batter into prepared pan. Bake until bread is golden brown and a toothpick inserted in the center comes out clean, about 55 to 60 minutes. Place on a wire rack to cool and then remove the bread from the pan. Serve warm or at room temperature. This bread can be frozen.

Read more...

EGYPTIAN CHICKEN WITH APRICOTS + FIGS

>> Monday, April 26, 2010


Spring has arrived in London. It's such a different experience from the change in season back home which is much gentler and less noticeable. All the trees down our street are either in bloom or already covered in new leaves. I know I'm meant to be craving salads and crunchy, fresh things now that the warm weather is upon us, but a couple weeks ago there was still enough of a chill in the air to remind me of the snow and icy wind we'd recently escaped. I wasn't quite ready to give up the warming, hearty dishes of winter.

A tagine sounded just about right. Perfect for a chilly day but so full of the flavours of summer that you can hardly call it winter fare. Whenever I want to cook something from the Middle East, I always turn to recipes from my favourite New Zealand chef/cook, Julie Le Clerc.


Inspired by the heritage of her Lebanese great grandfather, Julie traveled to Morocco, Lebanon, Turkey, Azerbaijan, Egypt, Jordan and Iran; a journey culminating in two beautiful cook books on the food and culinary traditions of the Middle East. I have given both of these books to Chris' mother Barbara. Everything either of us has made from their pages has turned out wonderfully and several of the recipes have even become regular favourites.

The dish I chose to cook last Sunday night was from the second of the two, 'Taking Tea in the Medina'. ('Made in Morocco' is the first.) I've made this recipe a few times, and every time I do, I remember why. Because it's so delicious. It's fragrant yet simple, enticing yet honest. The kind of food I love.


Every step in this recipe is easy. There are no exclusive or hard-to-find ingredients and, as long as you take your time and don't try to rush it, it will turn out exactly the way it's meant to.


You can serve it as it comes or with a dollop of thick, plain yoghurt on the side. I also made a quick salad of sliced cucumber and fennel, sprinkled with fresh mint leaves and dressed with a drizzle of extra virgin olive oil and the juice of half a lemon.


I can't wait to start traveling through this part of the world and experience first hand what I have only seen in the pages of a book or on a screen.

In the mean time, my kitchen is an adequate substitute – clouds of cinnamon and cumin laced steam rising from my cook top. Halving dried figs and apricots, the sugary, concentrated juice coating my fingers. Filling a cast-iron pot with layers of ingredients and covering and baking until meltingly soft. The heavily spiced aroma of cooking in the air.

A worthy send-off to our first winter in London!


Egyptian Chicken with Apricots + Figs
(slightly adapted from Taking Tea in the Medina by Julie Le Clerc)

12 chicken thighs (with bone in)
sea salt + freshly ground black pepper
olive oil
1 cup dried apricots
1/2 cup dried figs, halved
1/4 cup raisins or sultanas
2 onions, finely sliced
2 teaspoons each ground cinnamon + coriander
2 1/2 cups chicken stock
1 1/2 cups long grain rice

1. Preheat oven to 190°C. Season chicken with salt and pepper. Heat a frying pan, add a little oil and brown chicken pieces for 5-6 minutes on each side until golden brown. Remove to a roasting pan or dish and scatter with apricots, figs and raisins.

2. In the same frying pan, cook onions over a gentle heat in a little more oil for 10 minutes until softened but not coloured. Add spices and fry for 1 minute. Add stock and bring to the boil, then pour this sauce over the chicken. Bake uncovered for 45 minutes.

3. Cook rice in boiling water for 10 minutes, then drain well. Season with salt and pepper and place in a buttered ovenproof dish. Spoon chicken and sauce on top. Cover with foil (and a lid if you have one to go with your oven dish) and bake for a further 30 minutes or until chicken tests cooked - when a sharp knife is inserted to the bone and the juices run clear.

4. Adjust seasoning with salt and pepper if necessary before serving.

Serves 6

Read more...

APPLE CAKE WITH HONEY AND CINNAMON CRÈME FRAÎCHE

>> Wednesday, March 31, 2010


The other day I noticed a few apples sitting in our fruit bowl looking dejected. They were starting to develop that sweet-honey smell that means their past their eating best but are perfect for baking.


Apple cake? I had a lovely, simple recipe I’d used a few times; a fairly basic butter cake with apple quarters scored and pushed gently into the soft batter and coated with apricot jam, which I’d found in one of my mum’s Australian Women’s Weekly cookbooks. I hunted through my handwritten recipe journal and file of cut-outs with no success. It was 3 o’clock in the morning in New Zealand, so I couldn’t ring my mum and get her to read the recipe out to me over the phone. Sometimes it’s so frustrating not living in the same time zone as your family. It makes the distance even harder since you feel so completely disconnected. Eating a slice of homemade apple cake would make it slightly easier to bear though. So I set about finding a new recipe to try.


I decided to look for one that was a bit different from my original recipe – trying to find one similar would surely only lead to disappointment. On the Waitrose website I found a recipe for ‘Organic Apple Cake with Honey and Cinnamon Crème Fraîche’. It was the layer of caramelised and finely sliced apple that really grabbed me. It looked shiny and delicious; this was the one.

First of all, I have to tell you that I chose this recipe despite the fact it claimed to be ‘organic’. Anything can be organic if you stick the word ‘organic’ in front of every ingredient listed. I also chose it even though everything in the ingredients list is measured in grams rather than cups or mls. Something which is particularly frustrating for me as I don’t yet own a set of scales.... It’s on my ‘to do’ list. Luckily I’ve found a great website which converts weights of different ingredients into various units. It’s pretty hard to get completely accurate though – 0.66 of a cup anyone? Electronic scales will be my next kitchen purchase. I just need to find some I like. It’s harder than you would think.

So – even though this cake was teetering on the edge of the ‘too-hard basket’ and had me scoffing at it’s ingredients list, I persevered. Lucky cake.


A very, very easy cake to make. (As long as you ignore the fact that I was continually running back and forth between the kitchen and my laptop on the dining room table trying to remember conversion quantities!) The batter couldn't be simpler and while the apples are slightly fiddly to arrange, they look pretty and it only takes about 5 minutes. The cake itself actually improves after a day or two, so I would recommend baking it the day before you intend to serve it. If not, it's a lovely light cake fresh from the oven.


I ended up taking this as a dessert for dinner at Anna and Carl’s house. I’m so glad I did, as had I not, I would never had tried the Honey and Cinnamon Crème Fraîche (which would have been a bit of an extravagant addition just for the two of us). Flavoured creams have never really caught my attention before, and they’re definitely not something I would usually make on a regular basis – save the Chantilly cream my family makes instead of ordinary whipped cream. (I don’t think I can remember a time when we’ve whipped cream to go with something sweet and not included a teaspoon of castor sugar and a small splash of vanilla essence. Infinitely better than plain.)

This Crème Fraîche is worth the little extra effort it takes to assemble - particularly with a delicately flavoured cake such as this. It transforms what could be an ordinary tea cake into something special and worthy of dessert. If you can't get hold of crème fraîche, whipping or double cream will be fine. Just make sure it's whipped to a thick consistency before adding the cinnamon honey.

Just to let you know; I tried this twice - the first time with whipped double cream because that was all the Tesco up the road had in stock, the second time with crème fraîche. I can't decide which is better. I liked the double cream; it was lighter and sweeter and allowed the taste of the cinnamon and honey to stand out. Chris preferred the crème fraîche; he said he liked the slight lemony tartness alongside the apples in the cake. So the jury's out on that one - but which ever you choose, be rest assured it's good no matter what.

While I know that no cake will ever be wonderful enough to keep the homesickness blues completely at bay, the comforting smell of any cake gently baking in the oven will always help - at least a little.


Chris and I are off to Paris for the Easter holiday weekend! So no more posting until next week sometime, but I'm sure I'll bring back lots of photos of amazing confections and french delights to share. À bientôt!


Apple Cake with Honey + Cinnamon Crème Fraîche
(adapted from the Waitrose Website)

For the cake:
2 eating apples
225g demerara sugar (or raw sugar)
200g butter, softened
3 room temperature free range eggs, beaten
200g self-raising flour
150g pot natural yoghurt

For the crème fraîche:
500g crème fraîche
2 tbsp liquid honey
1/2 tsp cinnamon

1. Preheat the oven to 180°C, gas mark 4. Lightly grease a round 20cm loose-bottomed cake tin, line the base with baking parchment, then grease the top of the parchment.

2. Core the apples and slice thinly (no need to peel). Put them in a large bowl, add 25g of the sugar and toss well to coat. Arrange the slices in the tin, overlapping them slightly to form circles. Make sure there are no gaps between the apples as this will result in uneven areas where the batter will show on the top of the cake.

3. Beat the butter and remaining sugar together until light and fluffy, using an electric hand whisk or wooden spoon. Add the eggs, a little at a time, until they are fully incorporated and the mixture is smooth. If the mixture begins to curdle, simply add a spoonful or two of the flour and continue to add the egg. This should not happen if your ingredients are at room temperature and you make sure to add the eggs only a little at a time.

4. Fold in the remaining flour and yoghurt, then carefully spoon the mixture over the apples. Place the cake tin on a baking tray and bake for about 1 hour, or until golden and springy to the touch. Remove from the oven and leave to cool for 20 minutes or so. Turn the cake out onto a wire rack and leave to cool completely.

5. Spoon the crème fraîche into a serving bowl. Beat the honey and cinnamon together, then stir gently through the crème fraîche. Chill. Serve the cake in slices, with the honeyed crème fraîche.

Read more...

SEARCH NATKIN

Copyright: All images and text appearing on this blog (nat-kin.blogspot.com) may not be reproduced, copied or manipulated without the written permission of Natalie Graham © 2010

  © Blogger template 2009

Back to TOP